13 Different Types of Nail Stickers
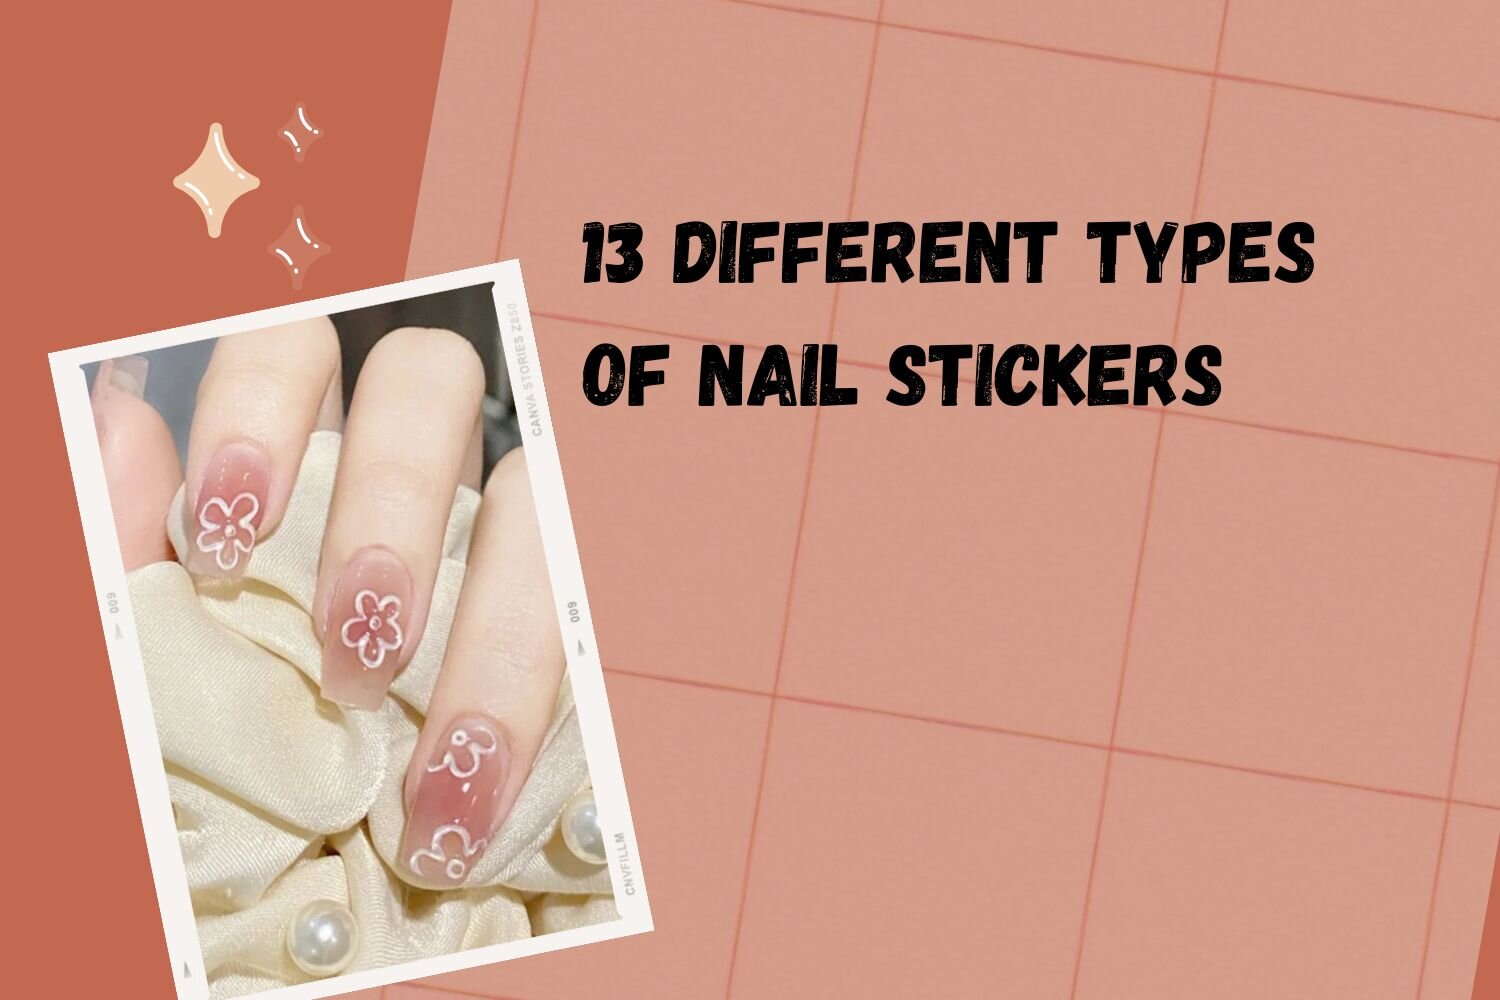
Welcome to the vibrant world of nail stickers! Discover the endless possibilities for creative, DIY manicures that express your unique style. In this guide, we’ll explore 13 different types of nail stickers, offering something for everyone.
Different Types of Nail Stickers
Benefits of Nail Stickers:
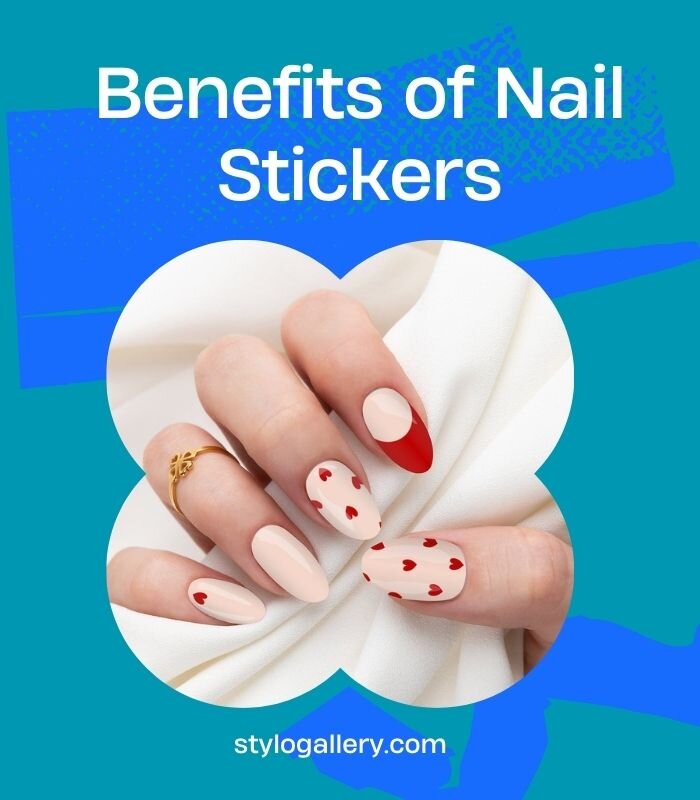
Nail stickers provide a quick and convenient way to achieve stunning manicures without the hassle of traditional nail art techniques. They are perfect for those who want to experiment with various designs without committing to intricate hand-painted art.
Types of Nail Stickers:
a. Floral Designs:
Add a touch of nature to your nails with intricate floral patterns. Perfect for a fresh and feminine look.Enhance your nails with the beauty of nature through delicately crafted floral patterns. These intricate designs bring a touch of elegance and charm to your fingertips, creating a stunning and refreshing aesthetic. Ideal for those seeking a fresh and feminine appearance, these floral nail patterns effortlessly elevate your overall look. Embrace the allure of nature and showcase your style with this captivating nail art.
How to Apply:
- Clean and prep your nails.
- Select the desired floral design.
- Peel off the sticker and apply on the nail.
- Smooth out any air bubbles.
- Seal with a top coat for longevity.
b. Minimalist Styles:

Embrace simplicity with minimalist nail stickers. Ideal for a chic and understated appearance.
Embrace the beauty of simplicity with our minimalist nail stickers, designed for a chic and understated aesthetic. These stickers offer a quick and easy way to achieve a polished look without any fuss. Ideal for those who appreciate a clean and refined appearance, these minimalist designs add a touch of sophistication to your nails. Elevate your style effortlessly with these sleek and modern nail stickers.
How to Apply:
- Start with clean, dry nails.
- Choose a minimalist design.
- Place the sticker on the nail.
- Press down and smooth out wrinkles.
- Seal with a clear top coat.
c. Glitter and Sparkle:
Make a statement with glitter and sparkle nail stickers, perfect for parties and special occasions.
Make a bold statement with dazzling glitter and sparkle nail stickers, crafted to add a touch of glamour to your fingertips. Ideal for parties and special occasions, these eye-catching designs instantly elevate your manicure, ensuring you stand out in the crowd. Whether it’s a celebration or a festive event, these nail stickers bring a festive and radiant flair to your overall look. Shine bright and make a memorable impression with these sparkling additions to your nail art collection.
How to Apply:
- Prep your nails and choose the design.
- Peel off the sticker and place on the nail.
- Press down gently and smooth out wrinkles.
- Seal with a top coat for a dazzling finish.
d. Seasonal Nail Stickers:
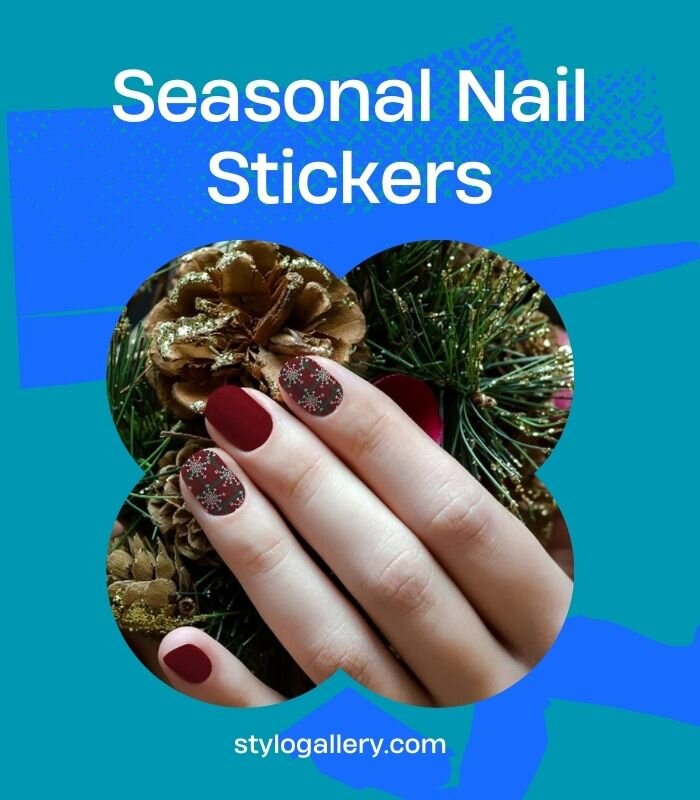
Celebrate the seasons with themed nail stickers, from snowflakes to floral blossoms.
Celebrate the changing seasons with our themed nail stickers, featuring delightful designs ranging from intricate snowflakes to vibrant floral blossoms. These seasonal nail stickers allow you to express your style and embrace the spirit of each time of the year. Whether you’re looking to capture the crisp beauty of winter or the blooming colors of spring, these themed nail stickers provide a charming and creative way to adorn your nails. Embrace the essence of the seasons with these unique and festive nail art options.
How to Apply:
- Ensure clean, dry nails.
- Select a seasonal design.
- Apply the sticker, smoothing out any wrinkles.
- Finish with a clear top coat for durability.
Continue this format for each type of nail sticker, providing clear instructions on how to apply them.
Transforming your nails with these stickers is a breeze. Begin by ensuring your nails are clean and dry. Carefully peel the desired sticker from the sheet using tweezers or your fingertips. Gently place the sticker onto your nail, smoothing out any bubbles or wrinkles with a cuticle pusher. Seal the design with a clear top coat for long-lasting and vibrant results. Repeat these simple steps for an effortlessly chic and professionally applied nail art look.
How to Apply Nail Stickers:
- Clean and prep your nails.
- Select your desired nail sticker.
- Peel off the sticker and place it on the nail.
- Smooth out any air bubbles or wrinkles.
- Seal the sticker with a clear top coat for longevity.
Tips for Long-Lasting Results:
- Apply stickers to clean, dry nails.
- Seal with a quality top coat for added durability.
- Avoid soaking your hands in water immediately after application.
- Be gentle with your nails to prevent premature chipping.
Removing Nail Stickers Safely:
- Soak nails in warm, soapy water.
- Gently lift the edges of the sticker with a cuticle stick.
- Peel off the sticker.
- Remove any residue with nail polish remover.
- Moisturize your nails and cuticles.
DIY Custom Nail Stickers:
Unleash your creativity by making custom nail stickers at home.
Unleash your creativity with DIY custom nail stickers made right at home. Start by choosing a design or creating your own using nail-friendly paints or markers. Once your design is ready, place a clear adhesive sheet over it, ensuring a smooth surface. Cut out the custom sticker, peel off the backing, and apply it to your nails for a personalized and unique nail art experience. Let your imagination run wild and showcase your individual style with these homemade custom nail stickers.
Steps:
- Gather materials: clear nail stickers, nail polish, and nail art tools.
- Paint your desired design on the clear sticker.
- Allow the polish to dry completely.
- Cut out the design and apply it to your nails.
Conclusion:
Explore the world of nail stickers and elevate your manicure game. Whether you prefer floral elegance, glittery glam, or minimalist chic, there’s a nail sticker for every style. Enjoy the convenience and creativity that nail stickers bring to your DIY nail art adventure
With the versatility of nail stickers, you have the power to express your personality through your manicure. Whether you’re a fan of floral elegance, glittery glamour, or understated chic, these 13 types of nail stickers cater to every style and occasion. Embrace the convenience and creativity that nail stickers bring to your DIY nail art adventures and let your nails become your canvas for self-expression.
Frequently Asked Questions (FAQs):
Q1: How long do nail stickers last?
The longevity of nail stickers depends on various factors, including the quality of the stickers, proper application, and daily activities. On average, nail stickers can last up to 1-2 weeks with proper care.
Q2: Can I use nail stickers on acrylic or gel nails?
Yes, nail stickers are compatible with acrylic and gel nails. Ensure the surface is clean and dry before applying the stickers for the best results.
Q3: Are nail stickers easy to remove?
Yes, removing nail stickers is a straightforward process. Soak your nails in warm, soapy water, gently lift the edges, peel off the sticker, and remove any residue with nail polish remover.
Q4: Can I apply a top coat over nail stickers?
Absolutely! Applying a clear top coat not only adds shine but also enhances the longevity of the nail stickers. It helps protect the design and prevents chipping.
Q5: Can I create my own designs for custom nail stickers?
Yes, you can! DIY custom nail stickers allow you to unleash your artistic side. Paint your desired design on clear nail stickers, let them dry, and apply them for a personalized touch.