Simple Steps for Perfect Nail Decals

Introduction: Achieving flawless nail art doesn’t always require intricate designs or professional skills. With the rising trend of nail decals, you can effortlessly elevate your manicure game with minimal effort. Nail decals are an easy and creative way to add a pop of personality to your nails without spending hours at the salon. In this blog post, we’ll guide you through simple steps to achieve perfect nail decals at home.
Perfect Nail Decals
Gather Your Supplies

Before diving into the creative process, ensure you have all the necessary supplies at your fingertips. You’ll need nail decals of your choice, a pair of tweezers, a base coat, your favorite nail polish colors, a top coat, and a small bowl of water.
Prepare Your Nails

Select Your Nail Decals Choose nail decals that complement your style and the occasion. Whether you prefer floral patterns, geometric shapes, or cute characters, there’s a wide variety of options available. Make sure the decals are sized appropriately for your nails.
Apply the Base Color

Select a nail polish color that complements your chosen decals. Apply the base color evenly on your nails and let it dry completely. This step will serve as the backdrop for your decals, enhancing their visual impact.
Soak the Decals
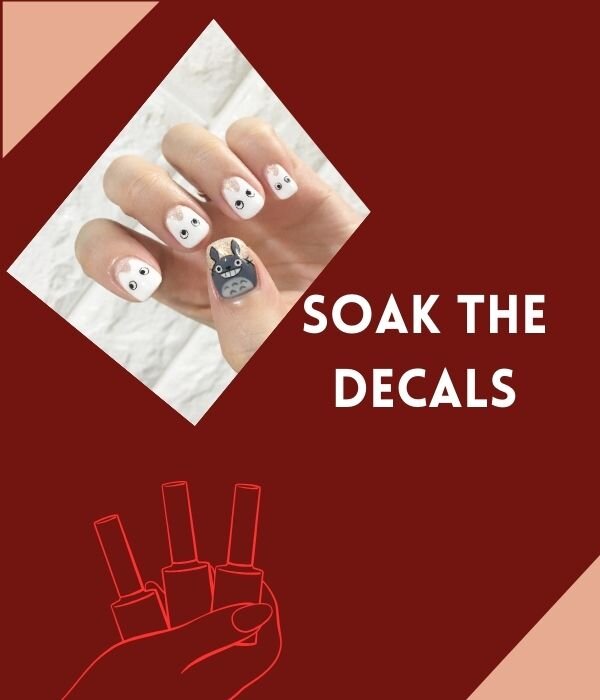
Carefully cut out the selected nail decals and place them in a small bowl of water. Allow them to soak for about 10-15 seconds until the decals easily slide off the backing paper.
Precisely cut out your chosen nail decals and submerge them in a small bowl of water. Let them soak for approximately 10-15 seconds, allowing the decals to effortlessly detach from the backing paper. This short immersion ensures a smooth application process, making it easier to transfer the decals onto your nails with precision. Prepare to adorn your nails with intricate designs effortlessly.
Position and Place

Using tweezers, gently lift the soaked decal and position it on your nail. Adjust its placement until you’re satisfied with the arrangement. Once in place, press down on the decal to remove any air bubbles and excess water.
Employing tweezers, delicately lift the soaked decal, carefully positioning it onto your nail. Take your time to fine-tune its placement until you achieve the desired arrangement. After securing the decal, press down to eliminate any lingering air bubbles and excess water, ensuring a smooth and flawless application for a polished finish.
Seal the Deal with Top Coat

Once your decals are perfectly arranged, seal the design with a high-quality top coat. This not only protects the decals but also provides a glossy finish, making your manicure last longer.
After meticulously arranging your decals with precision, ensure their longevity and a polished look by applying a top-quality sealant. This protective top coat not only safeguards the integrity of the decals but also imparts a lustrous finish to your manicure. The glossy sheen enhances the overall aesthetic, ensuring your nail art remains vibrant and resilient for an extended period. Elevate your nail game with this final touch that combines durability and a dazzling appearance.
Clean Up

Use a small brush or cotton swab dipped in nail polish remover to clean up any excess polish or decal residue around your nails. This step ensures a polished and professional look.
Achieve a refined and professional appearance by employing a small brush or cotton swab dipped in nail polish remover to tidy up any surplus polish or lingering decal residue around your nails. This meticulous cleanup step is crucial for refining the edges and contours, ensuring a flawless finish to your manicure. Take the extra moment to perfect the details, and unveil a polished look that exudes sophistication and attention to detail. Your nails will reflect a level of care and precision that enhances the overall elegance of your manicure.
Conclusion
Achieving perfect nail decals is a fun and straightforward process that allows you to express your creativity. With a few simple steps, you can turn your nails into a stunning canvas of self-expression. So, gather your supplies, unleash your artistic side, and get ready to showcase flawless nail decals with confidence!
What are nail decals?
Nail decals are decorative designs or images that can be applied to your nails to enhance their appearance. These decals come in various shapes, sizes, and patterns, offering an easy way to create intricate nail art without the need for advanced painting skills.
How do I choose the right nail decals?
Choose nail decals based on your personal style, the occasion, and your nail size. Consider patterns and colors that complement your overall look. Additionally, ensure the decals are sized appropriately for your nails to achieve the best results.
Can I use nail decals on natural nails?
Yes, nail decals can be used on natural nails. Start by preparing your nails with a base coat, and then follow the application steps outlined in the blog post. Nail decals adhere well to both natural and artificial nails.
Do I need special tools for applying nail decals?
The basic tools you’ll need are nail decals, tweezers, base coat, nail polish, top coat, and a small bowl of water. These items are readily available, and no special tools are required. However, using a small brush or cotton swab for cleanup can be helpful.
How long do nail decals last?
The longevity of nail decals depends on factors like the quality of the decals, the application process, and your daily activities. Generally, well-applied nail decals can last up to two weeks. Adding a top coat for extra protection can help extend their lifespan.
Can I remove nail decals easily?
Yes, removing nail decals is a straightforward process. You can use regular nail polish remover to dissolve the adhesive and gently peel off the decals. For