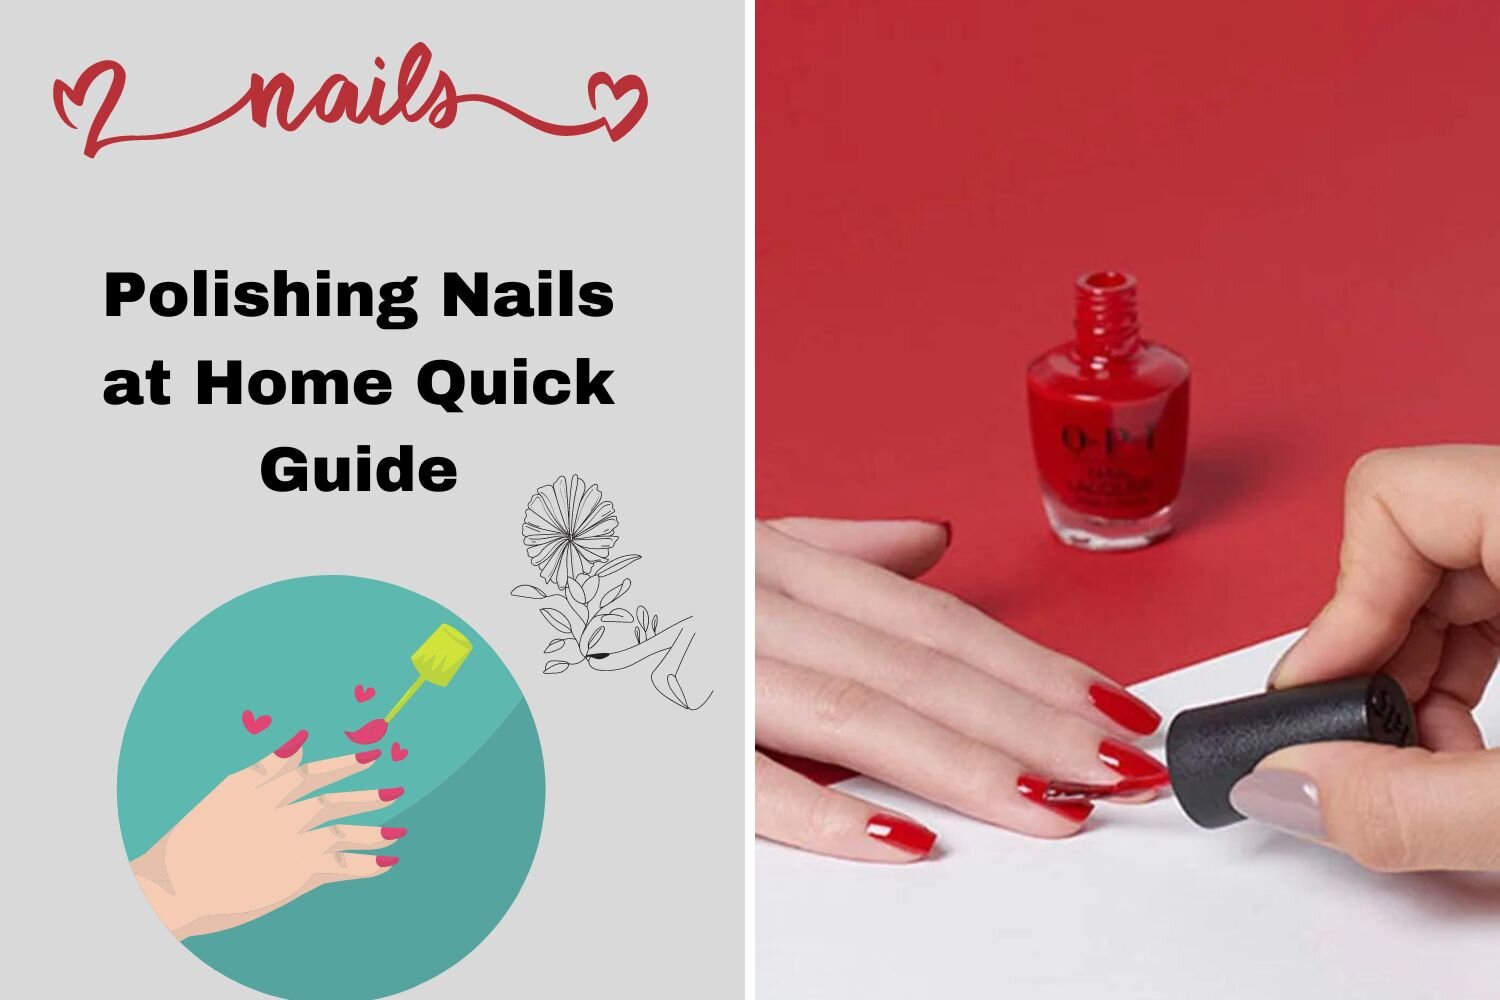
The Ultimate Quick Guide to Perfectly Polished Nails at Home
In a world where self-care has become an essential part of our routines, maintaining perfectly polished nails has never been more popular. However, salon visits can be time-consuming and expensive. Fear not, because achieving a salon-worthy manicure at home is easier than you think! In this quick guide, we’ll take you through the steps to ensure your nails are not just polished but also pampered.
Perfectly Polished Nails at Home
Gather Your Supplies
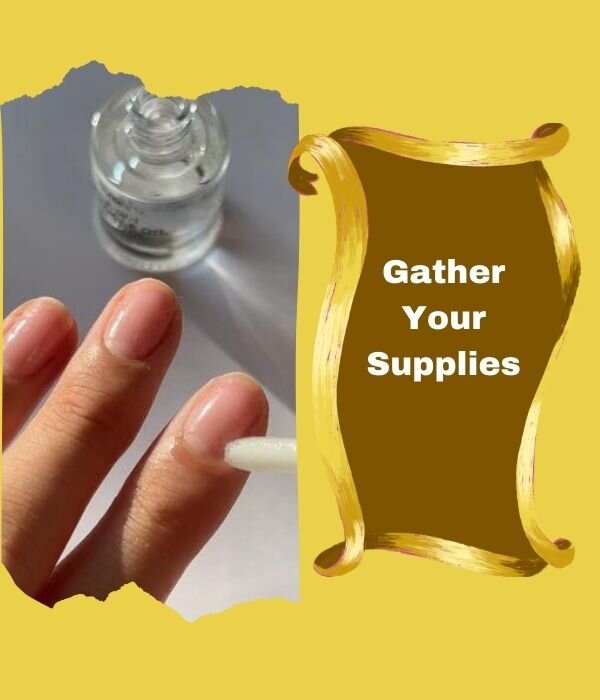
Before you begin, make sure you have all the necessary tools and products. Here’s a basic list to get you started:
- Nail polish remover
- Cotton pads or balls
- Nail file
- Cuticle pusher
- Cuticle oil
- Base coat
- Nail polish in your favorite color
- Top coat
Remove Old Polish
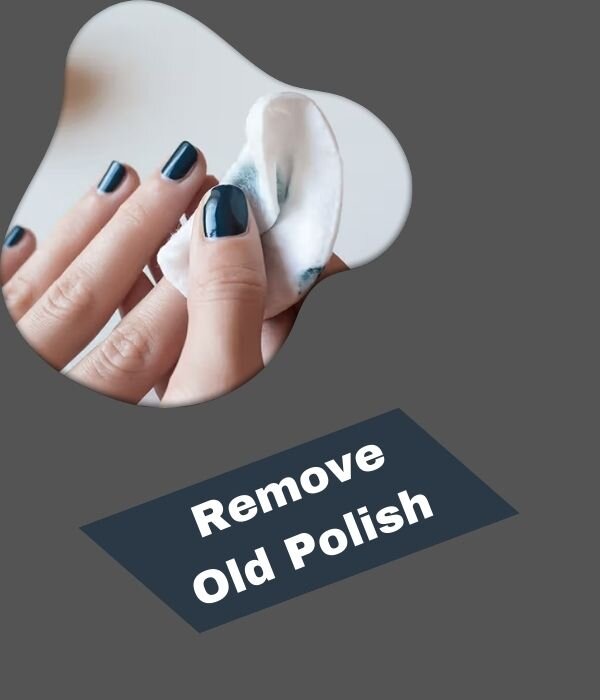
Start by using a nail polish remover to clean your nails of any existing polish. Opt for an acetone-free remover if your nails are prone to dryness. Gently rub each nail with a cotton pad until all remnants of old polish are gone.
Embark on your nail pampering journey by using a quality nail polish remover to effortlessly rid your nails of any lingering traces of old polish. If dryness is a concern, opt for an acetone-free remover to maintain nail health. With a gentle touch, delicately rub each nail using a cotton pad, ensuring a clean canvas for your next stunning polish application.
Shape Your Nails
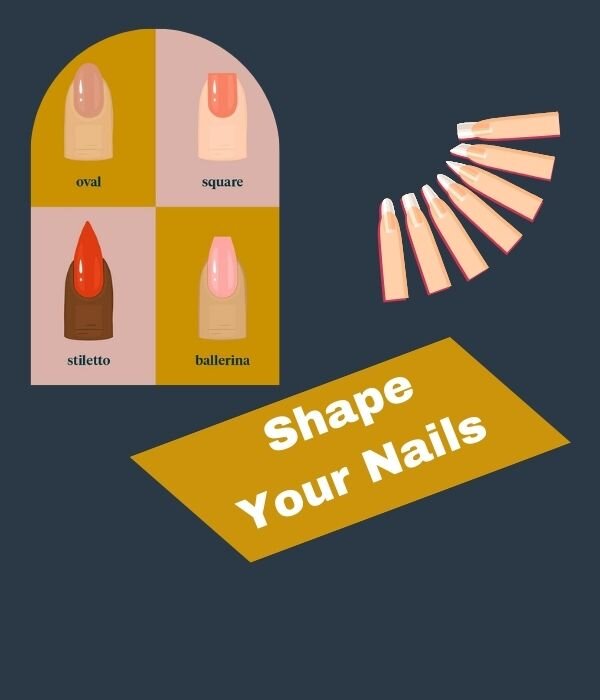
Use a nail file to shape your nails to your desired length and shape. Whether you prefer square, round, or almond-shaped nails, filing them correctly is key to a polished look.Achieving the perfect nail shape is a crucial step in a well-groomed manicure. With a nail file in hand, shape your nails to your desired length and style, be it the classic square, chic round, or elegant almond shape. Precision in filing is the secret to a polished and professional appearance, ensuring that your nails not only look great but also reflect your personal style with finesse.
Tend to Your Cuticles
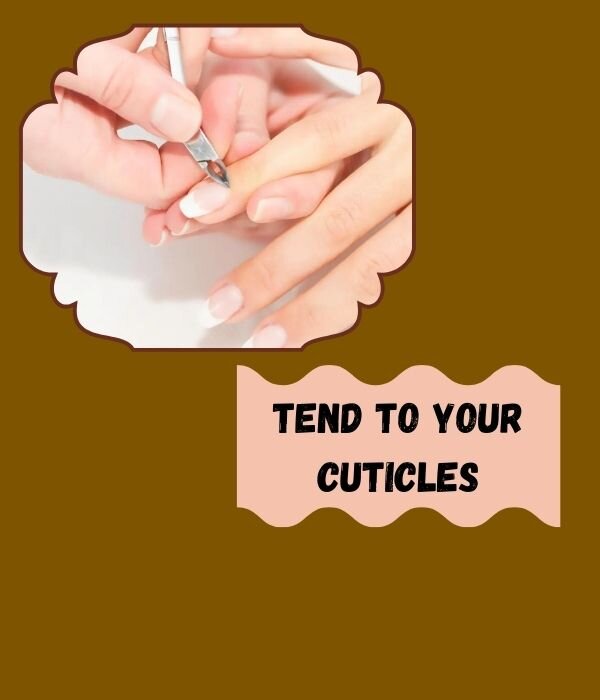
Soften your cuticles by soaking your fingertips in warm, soapy water for a few minutes. Next, use a cuticle pusher to gently push back your cuticles. Be careful not to cut them, as this can lead to infection and uneven growth. Apply cuticle oil to keep them moisturized.
Indulge in a mini spa moment by soaking your fingertips in warm, soapy water to soften your cuticles. Following this, employ a cuticle pusher to gently and carefully push back the cuticles, avoiding any cutting that might lead to infection or irregular growth. Enhance the health and appearance of your cuticles by generously applying cuticle oil. With your cuticles tended to, you’re now ready to shape your nails for a polished and refined finish.
Apply the Base Coat
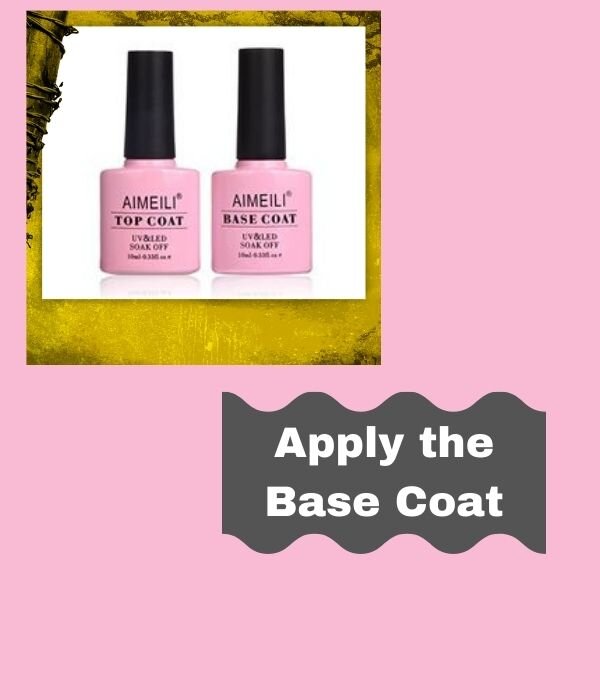
The base coat not only provides a smooth surface for the polish but also protects your natural nails from staining. Apply a thin layer and let it dry completely before moving on to the next step.The importance of a base coat in your nail care routine cannot be overstated. Beyond creating a flawless canvas for your polish, it acts as a protective barrier, shielding your natural nails from potential staining caused by pigmented polishes. Ensure a pristine application by applying a thin layer of base coat and allowing it to thoroughly dry before advancing to the next step, setting the foundation for a long-lasting and vibrant manicure.
Choose Your Polish

Now comes the fun part – choosing your favorite nail polish color! Apply the first thin layer and allow it to dry before applying the second coat. Thin layers dry faster and are less likely to smudge.
Indulge in the joy of self-expression by selecting your preferred nail polish color – the true fun of any manicure! Apply the initial thin layer, allowing it ample time to dry before proceeding to the second coat. Opting for thin layers not only ensures a more efficient drying process but also minimizes the risk of smudging, resulting in a beautifully polished and vibrant finish that reflects your unique style.
Seal the Deal with a Top Coat
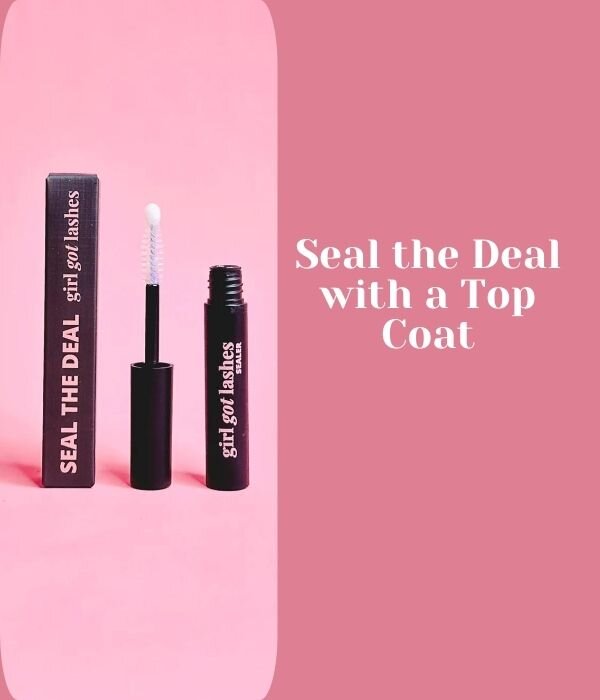
Once your colored polish is dry, apply a top coat to add shine and protect your manicure. This step also helps to prevent chipping and extends the life of your polish.
Seal the brilliance of your colored polish by applying a top coat, imparting a glossy finish that enhances the overall allure of your manicure. Beyond providing a lustrous shine, the top coat serves as a protective shield, effectively preventing chipping and ensuring the longevity of your polished look. Embrace this final step to not only enhance the aesthetic appeal but also to maintain the pristine quality of your nail art for an extended period.
Clean Up
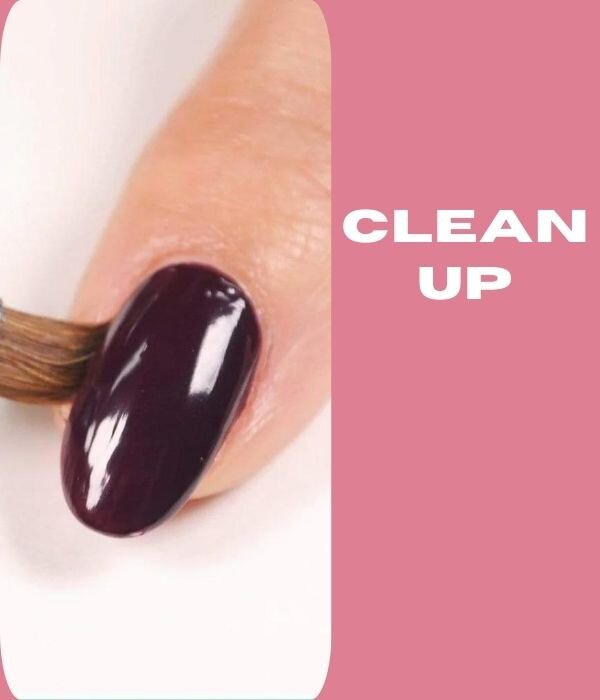
Use a small brush or a cotton swab dipped in nail polish remover to clean up any mistakes or excess polish around your nails. This step adds the finishing touch to your perfectly polished nails.
Achieve flawless perfection by employing a small brush or cotton swab dipped in nail polish remover to delicately erase any mistakes or excess polish surrounding your nails. This meticulous clean-up step serves as the finishing touch, refining the edges and contours for a professionally manicured appearance. Take your time with this detail-oriented process, and revel in the satisfaction of presenting impeccably polished nails that reflect your attention to every nuance.
Conclusion:
With these simple steps, you can achieve a salon-quality manicure in the comfort of your own home. Not only will your nails look fabulous, but you’ll also save time and money. So, gather your supplies, put on your favorite tunes, and treat yourself to a DIY nail pampering session – you deserve it!
How long does it take for nail polish to dry completely?
The drying time of nail polish can vary based on the brand and type of polish, but generally, it takes about 10 to 15 minutes for each coat to dry. Using thin coats and allowing ample drying time between layers helps prevent smudging.
How often should I moisturize my cuticles?
It’s recommended to moisturize your cuticles daily, especially after washing your hands. Applying cuticle oil or a moisturizing cream helps keep your cuticles healthy, preventing dryness and potential hangnails.
Can I use any nail polish remover?
While most nail polish removers work well, consider using an acetone-free remover if your nails are prone to dryness or if you have artificial nails. Acetone-based removers can be harsh on natural nails and cuticles.
How can I prevent chipping?
To prevent chipping, make sure to apply a base coat before your colored polish. Additionally, avoid using thick layers of polish, and seal your manicure with a quality top coat. Be mindful of your activities immediately after polishing your nails to allow the polish to fully set.
What’s the best shape for my nails?
The best nail shape depends on your personal preference and lifestyle. Common shapes include square, round, oval, and almond. Choose a shape that complements your fingers and suits your daily activities.
How can I make my nail polish last longer?
To extend the life of your manicure, start with a clean, dry nail surface. Apply a quality base coat, use thin layers of polish, and finish with a top coat. Avoid exposing your nails to excessive water immediately after polishing, and be cautious with activities that can lead to chipping.
Can I mix different nail polish brands?
While it’s generally safe to mix nail polish brands, it’s essential to consider the compatibility of the formulas. Some polishes may not adhere well to others, leading to uneven application or chipping. It’s advisable to stick to one brand for a cohesive finish.
How can I revive dried-out nail polish?
If your nail polish has become thick or dry, you can revive it by adding a few drops of nail polish thinner. Avoid using acetone, as it can alter the polish formula. Gently shake the bottle after adding the thinner to restore the consistency.
Remember, these answers are general guidelines, and individual experiences may vary. Always follow the specific instructions provided by the product manufacturers for the best results.