Understanding Nail Buffing and How to Do It at Home

Welcome to the world of at-home nail care! In this guide, we’ll explore the art of nail buffing, a simple yet effective way to achieve natural shine and maintain healthy nails. Embrace the simplicity and effectiveness of at-home nail buffing. With the right tools and techniques, you can achieve salon-quality results and enjoy the numerous benefits of healthy, beautiful nails. Incorporate this DIY practice into your regular nail care routine and revel in the natural shine that comes with well-maintained nails.
Nail Buffing and How to Do It at Home
Benefits of Nail Buffing
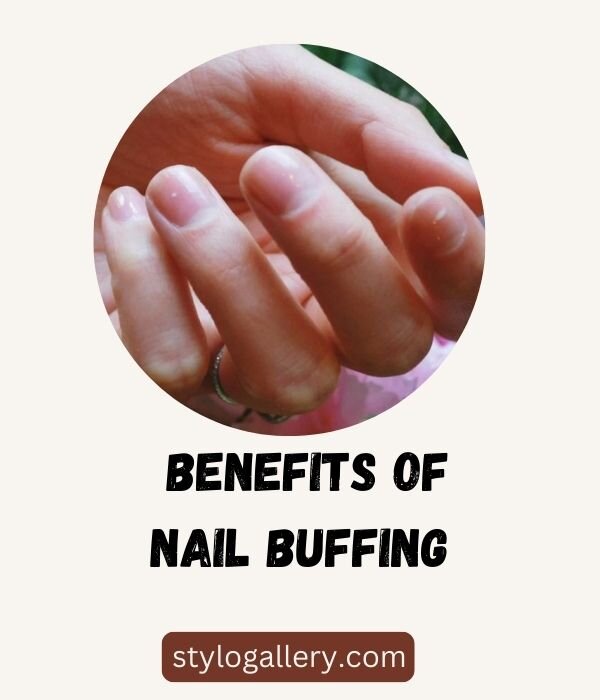
Nail buffing goes beyond aesthetics. It improves blood circulation to the nail bed, stimulates nail growth, and promotes overall nail health. Additionally, it provides a smooth surface for nail polish application.
Nail buffing extends beyond mere aesthetics, offering notable health benefits. By enhancing blood circulation to the nail bed, it actively stimulates nail growth and contributes to overall nail well-being. This practice not only fosters stronger and healthier nails but also creates a polished surface that facilitates the seamless application of nail polish. Embracing nail buffing can be a holistic approach to nurturing both the appearance and vitality of your nails.
Tools Needed for Nail Buffing
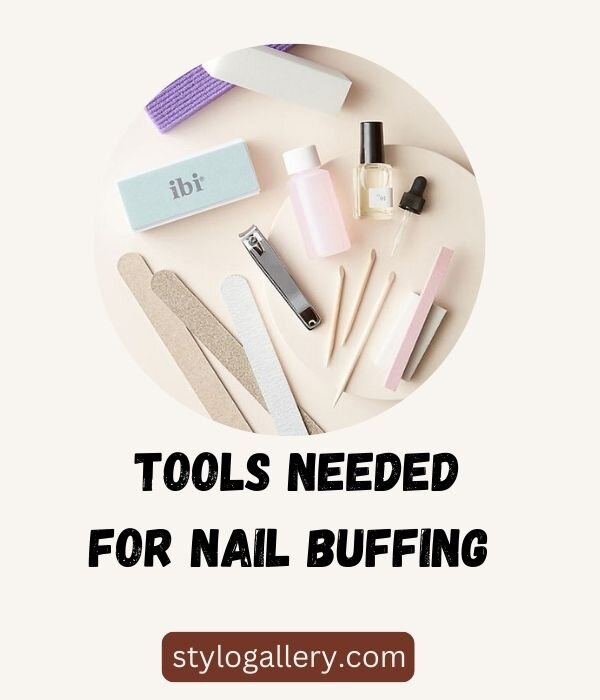
Before diving in, gather the essentials: a nail buffer, a gentle nail file, cuticle oil, and a clean cloth.
Prepare for your nail care routine by assembling the essential tools: a reliable nail buffer, a gentle nail file, nourishing cuticle oil, and a clean cloth. These basics form the foundation for achieving well-maintained and attractive nails. Having these items at hand ensures a smooth and effective process, whether you’re shaping, buffing, or nourishing your nails. Before embarking on your nail care journey, make sure you have these key elements ready for a thorough and satisfying experience.
Step-by-Step Guide: How to Buff Your Nails at Home
a. Remove Old Nail Polish
Start with a clean slate. Use a non-acetone nail polish remover to wipe away any existing polish. Begin your nail care routine with a fresh start by ensuring a clean slate. Employ a non-acetone nail polish remover to gently and effectively eliminate any existing nail polish. This step is crucial for achieving a smooth and flawless base before applying new polish or engaging in additional nail treatments. By starting with a clean canvas, you set the stage for optimal results in your nail care regimen.
b. Trim and Shape Nails
Trim your nails to your desired length and shape them using a nail file. This sets the foundation for a polished look .Achieve your preferred nail length by trimming and shaping them with a nail file. This essential step lays the groundwork for a polished and refined appearance. Whether you prefer a classic square or trendy almond shape, using a nail file allows you to tailor your nails to your desired style. Taking the time to shape your nails contributes to an overall neat and well-groomed aesthetic.
c. Gather Buffing Tools
Collect the necessary tools: a soft nail buffer and cuticle oil. Be sure your nails are dry before proceeding.
Gather the essential tools for your nail care routine, including a soft nail buffer and nourishing cuticle oil. Before starting, ensure your nails are completely dry to achieve optimal results. This preparation sets the stage for a smooth and effective process, allowing the buffer to enhance your nails’ natural shine and the cuticle oil to nourish and moisturize. By having the right tools and dry nails, you maximize the benefits of your nail care regimen.
d. Buffing Technique
Gently buff the surface of each nail using a back-and-forth motion. Avoid excessive pressure to prevent damage. Focus on achieving a smooth texture.
Delicately enhance the appearance of your nails by gently buffing the surface using a back-and-forth motion. Exercise caution to avoid applying excessive pressure, as this can lead to potential damage. The key is to focus on creating a smooth texture, refining the surface without compromising the health of your nails. This meticulous approach ensures a polished finish while maintaining the integrity of your nail structure.
e. Smooth and Shine
Apply a small amount of cuticle oil to each nail and use the buffer to create a natural shine. Buff until satisfied with the glossiness.
Revitalize your nails by applying a small amount of cuticle oil to each nail, replenishing moisture and promoting a healthy appearance. Utilize the buffer to enhance their natural shine, gently buffing until you achieve the desired level of glossiness. This dual-step process not only nourishes your cuticles but also imparts a polished and lustrous finish to your nails. Enjoy the rejuvenated look and feel of your nails after this simple yet effective treatment.
Tips for Maintaining Healthy Nails
- Limit buffing to once a month to prevent overuse.
- Keep nails moisturized with cuticle oil.
- Avoid excessive force, which can lead to thinning and weakening of nails.
Additional Tips for Nail Care
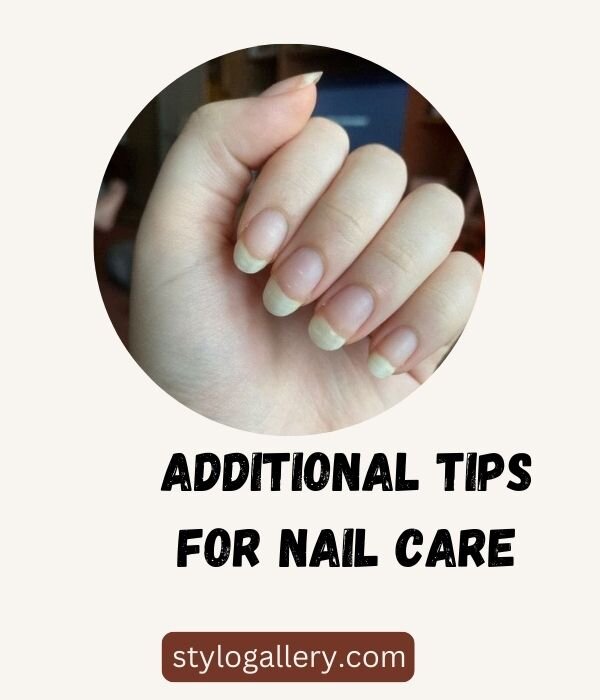
After buffing your nails, consider applying a nourishing cuticle oil regularly to maintain moisture. Hydrated cuticles contribute to overall nail health and prevent dryness.
Following the nail buffing process, it’s beneficial to incorporate regular applications of nourishing cuticle oil to maintain optimal moisture levels. Consistent hydration of the cuticles plays a vital role in promoting overall nail health and preventing dryness. By making this a routine, you contribute to the resilience and well-being of your nails, ensuring they remain supple and free from the effects of dehydration. Embrace the practice of applying cuticle oil as a simple yet effective measure for long-term nail care.
Explore Nail Buffing Styles
Experiment with different buffing techniques to achieve various finishes. From a subtle natural shine to a glossy look, the possibilities are endless. Find the style that suits your preference.
Explore diverse buffing techniques to attain a range of finishes for your nails. Whether you prefer a subtle, natural shine or a more pronounced glossy appearance, the options are limitless. Embrace the versatility of nail buffing to discover and customize the style that best aligns with your personal preferences. With a variety of techniques at your disposal, you can elevate your nail care routine and express your unique sense of style.
Share Your Nail Buffing Experience
We’d love to hear about your at-home nail buffing experience! Share your results on social media and tag us. Connect with others in the community to exchange tips and tricks for maintaining fabulous nails.
Share the outcomes of your at-home nail buffing session with us – we’re eager to see the results! Tag us on social media to join the conversation and connect with fellow enthusiasts in the community. Engage in discussions to exchange valuable tips and tricks for maintaining fabulous nails. Your experiences contribute to a collective pool of knowledge, fostering a supportive space for everyone to enhance their nail care routines.
Conclusion
Congratulations! You’ve mastered the art of at-home nail buffing. Enjoy the natural shine and the benefits of healthy, beautiful nails with this simple DIY technique.
FAQs about Nail Buffing
How often should I buff my nails at home?
Limit nail buffing to once a month to prevent overuse and potential damage.
Can I use any nail buffer for at-home manicure?
Choose a soft nail buffer to avoid excessive abrasion. It’s essential for achieving a smooth shine without compromising nail health.
Is nail buffing suitable for all nail types?
Yes, nail buffing is suitable for all nail types. However, individuals with weak or damaged nails should exercise caution and avoid excessive pressure.